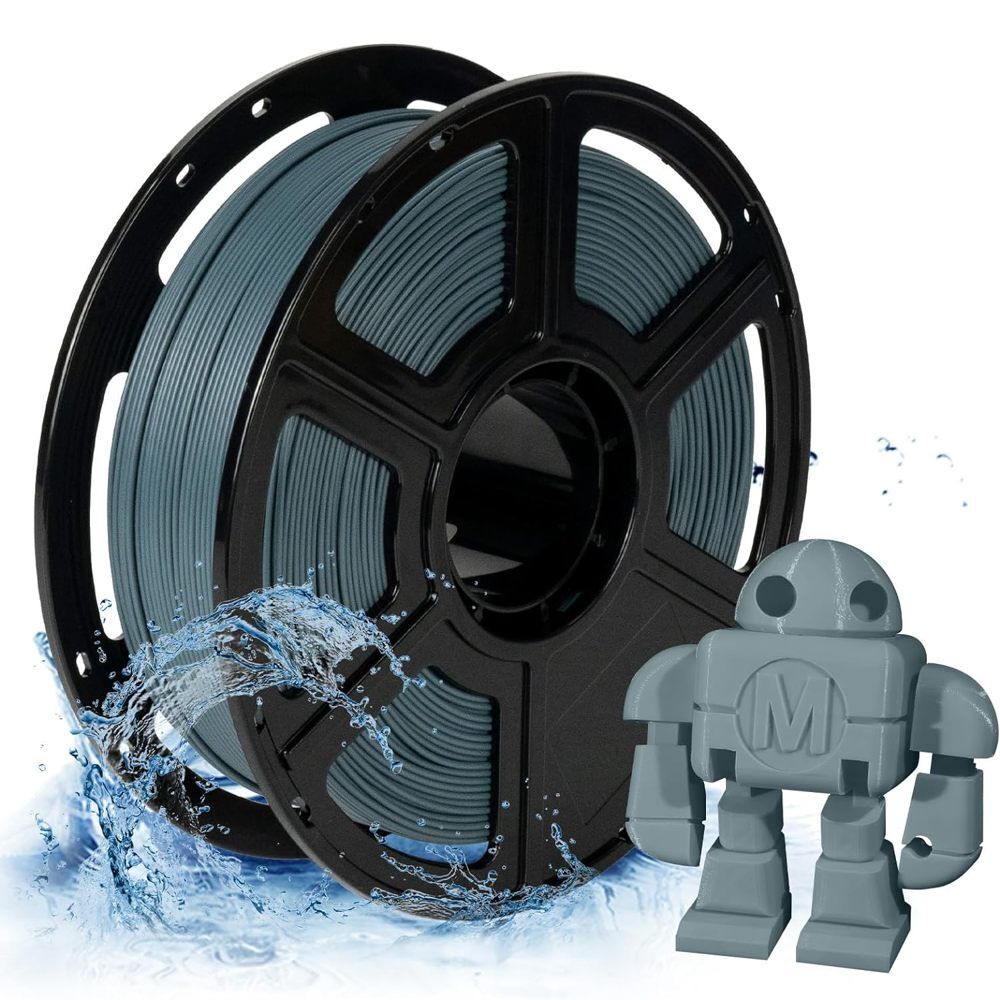
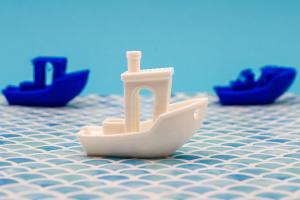
When diving into the world of 3D printing, understanding the different types of 3D resins can make a big difference in your projects. Each type of resin has unique properties that cater to various needs—whether you’re creating detailed miniatures or functional parts. Here’s a quick breakdown of the most popular types.
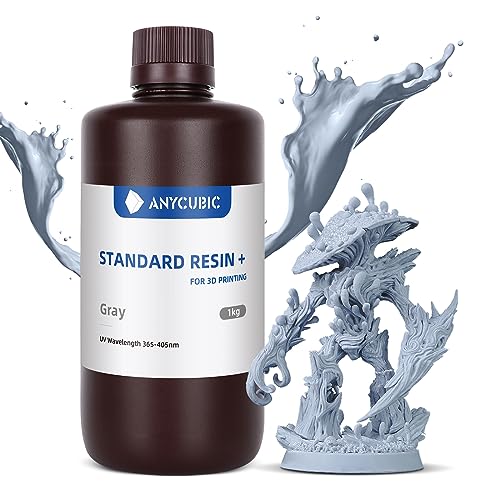
Standard Resin: This is your go-to choice for most 3D printing tasks. It offers a good balance of detail and strength, making it perfect for prototypes and models. With vibrant colors and sharp details, it’s great for those aesthetic projects where you want everything to pop.
Flexible Resin: If you need something that can bend or stretch without breaking, flexible resin is the way to go. It's ideal for items like phone cases, wearables, or parts that need some give. Just remember, while it’s more forgiving than standard resin, it may not hold intricate details as well.
Durable Resin: This type is all about strength and impact resistance. Use it for functional parts that need to withstand wear and tear, like tools or mechanical pieces. It can take a beating, so if you're working on something that will see regular use, durable resin is a solid choice.
Castable Resin: Are you into jewelry-making or creating detailed models for casting? Castable resin is specifically designed to burn out cleanly, meaning it leaves no residue, making it perfect for creating molds. This resin allows for intricate designs that look great once cast in metal.
Choosing the Right Resin for Your Project
When it comes to 3D printing, choosing the right resin can make all the difference. With so many options out there, it’s important to know what each type offers to find the best match for your project. Here’s a quick rundown to help steer you in the right direction!
First off, you'll want to think about your project’s purpose. Are you creating a detailed model, or something more functional? For intricate designs, a standard or high-detail resin usually works best. These resins cure faster and provide sharper details, making them perfect for miniatures or prototypes.
Don't forget about color and finish options! Most resins come in a range of colors, but if you're after something specific, look for specialty resins that can be painted or have a glossy finish. Plus, the finish can influence how light interacts with your print, adding to the overall look.
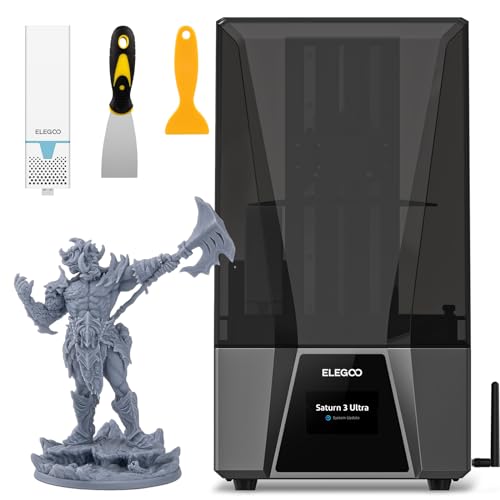
Finally, consider the printing process itself. Some resins are better suited for certain printers and technologies, so double-check compatibility. If you have a unique idea in mind, don’t hesitate to do a little research or ask fellow makers for recommendations. This can save a lot of trial and error down the line!
Tips for Working with 3D Resin
Working with 3D resin can be a fun and rewarding experience, but it comes with its own set of tips and tricks to make the most of your projects. Whether you're new to resin printing or you have some experience under your belt, these handy tips can help you achieve better results.
1. Safety FirstAlways prioritize safety when working with resin. Make sure to wear gloves and a mask, especially if you’re dealing with fumes. It’s a good idea to work in a well-ventilated area or use a fume hood if you have one. Keeping safe will help you enjoy your hobby without any worries!
2. Prepare Your WorkspaceBefore you start, set up your workspace. Cover surfaces with plastic or a disposable tablecloth to make clean-up easier. Keep your tools and materials organized and within reach. A tidy workspace not only makes for a smoother process but also reduces the chance of spills and accidents.
3. Mix ProperlyMixing your resin correctly is key. Follow the manufacturer's instructions on the ratio of resin to hardener—getting this step right can make all the difference in the outcome. Thoroughly mix until you see no streaks, and be sure to scrape the sides of your mixing container to get everything blended well.
4. Monitor Temperature and HumidityYour environment plays a big role in how your resin behaves. Make sure to keep an eye on the room temperature and humidity. Ideally, you want to work in a warm, dry space. Low temperatures can cause the resin to cure too slowly, while high humidity can lead to issues with the final product.
Cleaning and Storing Your Resin Supplies
Keeping your resin supplies clean and organized is key to ensuring great results in your 3D printing projects. A clean workspace not only helps you avoid any mishaps but also lengthens the life of your tools and materials. Let’s dive into some simple steps for cleaning up after your resin adventures!
First off, always wear gloves when handling resin. It’s sticky and can be a little messy. After you finish using your resin, make sure to clean your tools right away. Isopropyl alcohol (at least 70%) is your best friend here. Soak your spatula and mixing sticks in it, then wipe them down. Let them air dry completely before using them again. For any hardened resin, a scraper or a plastic tool can help you get rid of the tough spots.
Now, onto your workspace! Use a plastic surface or a disposable tablecloth to keep your printing area neat. When you are done, simply fold it up and toss it away. If you’re using a resin printer, don’t forget to clean the build plate and resin vat with your isopropyl alcohol to remove any leftover resin. A soft cloth or paper towel works well for this job.
As for storing your resin supplies, keep them in a cool, dark place. Light and heat can degrade the resin, so a closed box or container away from sunlight is ideal. Make sure the tops of your resin bottles are sealed tightly to prevent any spills. Labeling your containers can also save you time and effort when you’re searching for specific colors or types of resin in the future. Keep everything organized, and you’ll find that your next project will be much smoother!